

Media2URL
Audio processing studio

Audio processing studio: Trimming, format conversion and volume control

Audio rarely needs a full editing project when the problem is only a few unwanted seconds, an unsuitable file format or a recording that is difficult to hear.

Media2URL brings supported audio-processing tools into the same workspace as your uploaded files. You can trim a recording, prepare another audio format, adjust the available volume settings or choose an output bitrate based on what you need to do with the file next.

The workflow

How audio processing works

Start with what is wrong with the recording rather than changing every available setting. A long voice memo may only need trimming, while a large WAV file may need a different output format for easier sharing.

The processing choice should match the job you are trying to finish.

  1. 1

    Load an audio track

    Open a supported audio file already saved in your Media Library or choose another accepted file. This could be a voice recording, podcast clip, sound effect or another audio track.

  2. 2

    Set trim markers

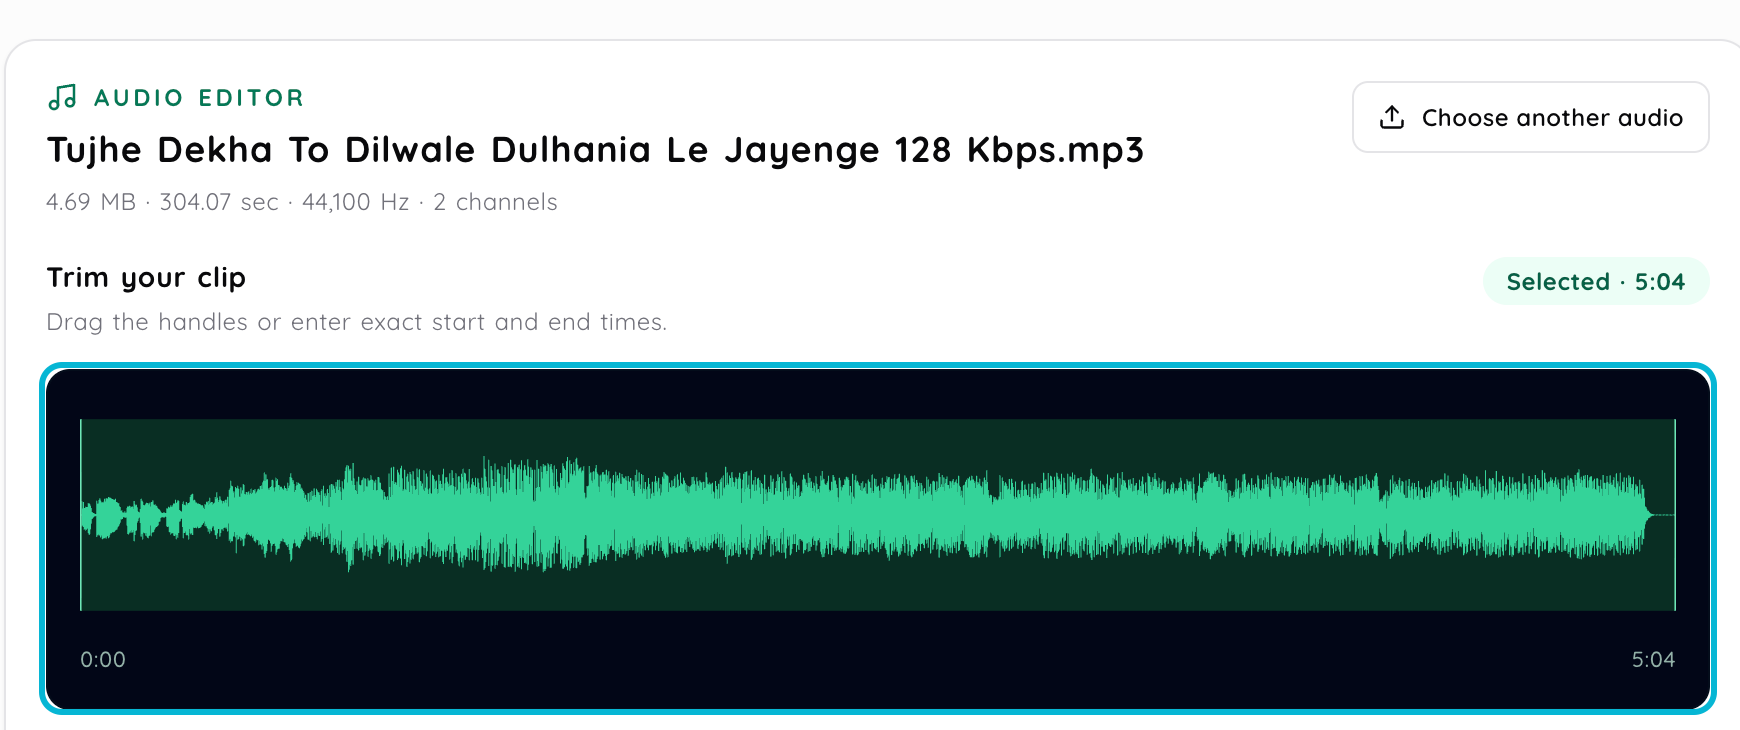
    Use the waveform to find where the useful audio starts and ends, then set the trim points around the section you want to keep.

  3. 3

    Choose the processing you need

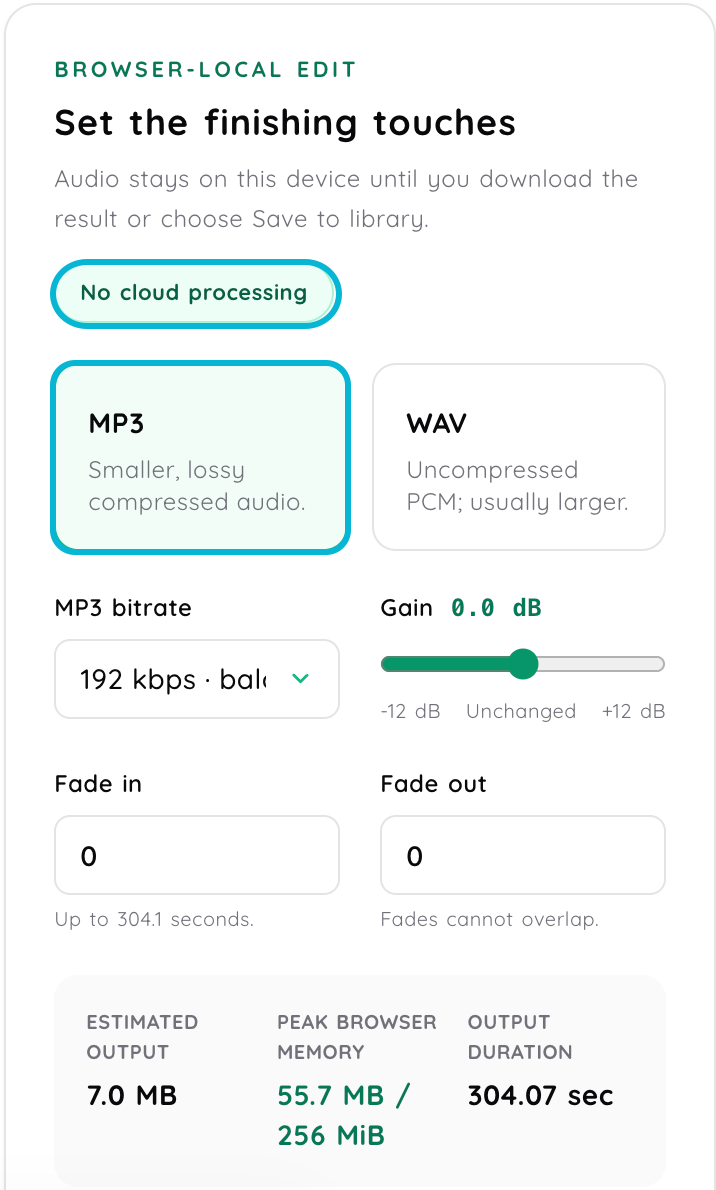
    Use the format, volume or output settings available for the selected file. There is no need to change everything when trimming or one format change already solves the problem.

  4. 4

    Generate your audio link

    Save the processed audio using the options available for that tool. Once the result is ready, you can continue with the sharing and link options supported for the saved file.

Practical tools

Common audio jobs that do not need a full editor

A full audio editor is useful when you are mixing tracks or producing a complete recording. It can be unnecessary when the job is simply to remove silence, prepare another file format or make a quiet recording easier to hear. Media2URL's audio tools are focused on these smaller processing tasks for supported files in your workspace.

Audio trimming

Trimming changes which part of the recording you keep. It does not have to change the audio format or make the remaining section louder. This is useful when a voice memo contains silence before the speaker starts, a podcast clip runs longer than the section you want to share or a voiceover take contains an unwanted ending. The waveform helps you locate those parts without listening blindly from the beginning every time.

Choose an audio format for the next destination

Format conversion is useful when the current audio file does not fit where it needs to go next. A large WAV recording may not be the most convenient choice for quick online sharing, while another workflow may specifically require MP3, AAC or another supported output. Converting a file is not automatically an improvement. The useful format is the one that works for the destination while keeping the quality and file size appropriate for the recording.

Volume adjustment and normalization solve different problems

A recording can be difficult to hear because its overall level is low, or it can feel inconsistent because different parts are noticeably louder than others. Those are related problems, but they are not exactly the same. Use the volume controls available for the file based on what needs correcting. Raising a quiet recording and normalizing its level should not be treated as interchangeable actions.

Bitrate and sample rate affect different parts of the file

Bitrate is one of the settings that can affect how much data encoded audio uses over time. A higher bitrate can preserve more information, while reducing it can help create a smaller encoded file depending on the codec and content. Sample rate describes how many audio samples are represented each second. Increasing sample rate can also increase the amount of audio data that needs to be stored or encoded. Do not choose 128, 192 or 320 kbps simply because one number sounds more professional. Use the options available for the file based on whether the result is speech, music or another type of audio and where it will be played.

Audio fundamentals

Audio format, codec and container are not always the same thing

Audio terminology can become confusing because file extensions and encoding methods are often spoken about as if they mean the same thing.

Codecs (AAC, Opus, MP3)

A codec describes how audio data is encoded into compressed bits and decoded back for listening.

Containers & Wrappers (Ogg, WAV, M4A)

A container provides the file structure that holds encoded audio streams, track headers and metadata.

For normal use, you usually do not need to think about every layer. What matters is whether the resulting file works in the website, player, app or workflow where you plan to use it.

Decision framework

Choose the audio operation based on the problem

Trim the recording

When the useful audio is already there but silence, an unwanted intro or extra material makes the clip longer than necessary.

Convert the format

When the destination does not suit the current file or when another supported output is easier to use for the next step.

Adjust the volume

When the recording is too quiet or its level needs correction before another person listens to it.

Change output settings carefully

When file size matters, but keep enough quality for the kind of audio you are sharing.

Asset governance

Keep the original audio when you may need it again

A smaller or converted copy can be useful for sharing, but it should not automatically become your only version.

Some audio codecs use lossy compression, which means part of the source information is discarded during encoding. Repeatedly decoding and re-encoding lossy audio can introduce additional degradation. MP3 and AAC are common lossy codecs, while FLAC is designed for lossless audio compression.

Where the Media2URL workflow gives you separate-save options, keeping the source can make sense when the recording may need another edit or conversion later. Manage your files and versions inside your Media Library.

Encoding nuance

Speech and music do not always need the same settings

A spoken voice clip and a music recording can place different demands on the output. Speech may remain understandable with settings that would make musical detail noticeably less satisfying.

The listening situation matters as well. A short voice preview sent for approval has different requirements from a recording that someone plans to keep as a high-quality source.

This is why preset numbers should be treated as choices rather than universal recommendations. Listen to the processed output before replacing the source file.

Practical scenarios

Where audio processing helps

Voiceover and client review

A voiceover take may contain silence, a false start or several seconds after the final line. Trim the clip before sending it so the reviewer hears the part that actually needs approval.

Podcast teaser clips

A long podcast episode may contain one short section that works on its own. Trim that part into a separate clip when you need a preview without sending someone the entire recording.

Game and interface audio

Short sound effects may need a different format or smaller output before being used elsewhere. Process the supported audio first, then check the actual requirements of the game engine, website or application where the file will be used.

Recorded meetings and interviews

A recorded interview or meeting may contain several minutes before the useful conversation begins. Trim the unwanted section or prepare a smaller listening copy when someone only needs the relevant part.

Processing guidelines

Before processing a long or important recording

  • Supported files depend on the current processing tool. MP3, WAV, M4A, AAC, OGG and FLAC are among the formats referenced by the current Audio Studio.
  • File size and duration limits depend on your account. Check the controls shown for the selected file before starting a long processing job.
  • Only process audio you are allowed to use. Uploaded material still needs to follow Media2URL's Acceptable Use rules and applicable rights.
  • Think before replacing the source. If the current tool offers a separate save option, keep the original when you may need to edit or convert it again.
Questions about this workflow

Frequently asked questions

There is no single best format for every website or device. MP3 is widely used for general audio sharing, while AAC, Vorbis and other formats can also make sense depending on the destination and playback support. If the audio will be embedded in a website or another application, check which format that destination accepts before converting the file.

Yes, for supported files where the trimming tool is available. Use the waveform to choose the section you want to keep, then save the result using the options shown by the Audio Studio. Processing availability and limits can depend on your account and file type.

Normalization changes the level of the audio according to the method used; it does not repair noise, clipping or poor source quality by itself. If the recording already contains distortion, simply making it louder or normalizing the level will not restore information that was lost during recording.

Supported podcast or spoken-audio files can be saved and shared through Media2URL within the file, account and plan limits shown for your workspace. If the goal is simply to create a hosted listening link rather than process the audio first, use the Audio to Link tool.

Trimming changes the part of the recording you keep. Format conversion changes how the audio is stored or encoded for the next use. You can trim a clip without necessarily needing another format, and you can convert a full recording without shortening it.

No. AAC is an audio codec, while .m4a is commonly used for audio stored in an MPEG-4-based container. The terms are related, but they describe different parts of how the audio is stored.

Not automatically. Bitrate affects how much encoded data is available over time, but the audible result also depends on the codec, source material and encoding settings. A higher number can also create a larger file without giving a useful benefit for every recording.

Sample rate describes how many samples of an audio signal are represented each second and is measured in hertz. For example, 44.1 kHz represents 44,100 samples per second. A higher sample rate also involves more audio data, so it should not automatically be treated as the best setting for every output.

Next steps

Continue the audio workflow